
One key to staying ahead of both ATC and the computer in the cockpit during the high-workload phases of an approach is avoiding the temptation of the Vectors-to-Final option available on IFR-approved GPS navigators like the Garmin GTN 750/650, GSN 530W/GNS 430W and integrated avionics such as the Garmin G1000.
For information about a change to the VTF feature in new system software for Garmin GTN units, see Changes to Vectors-to-Final in Garmin GTN System 6.x.
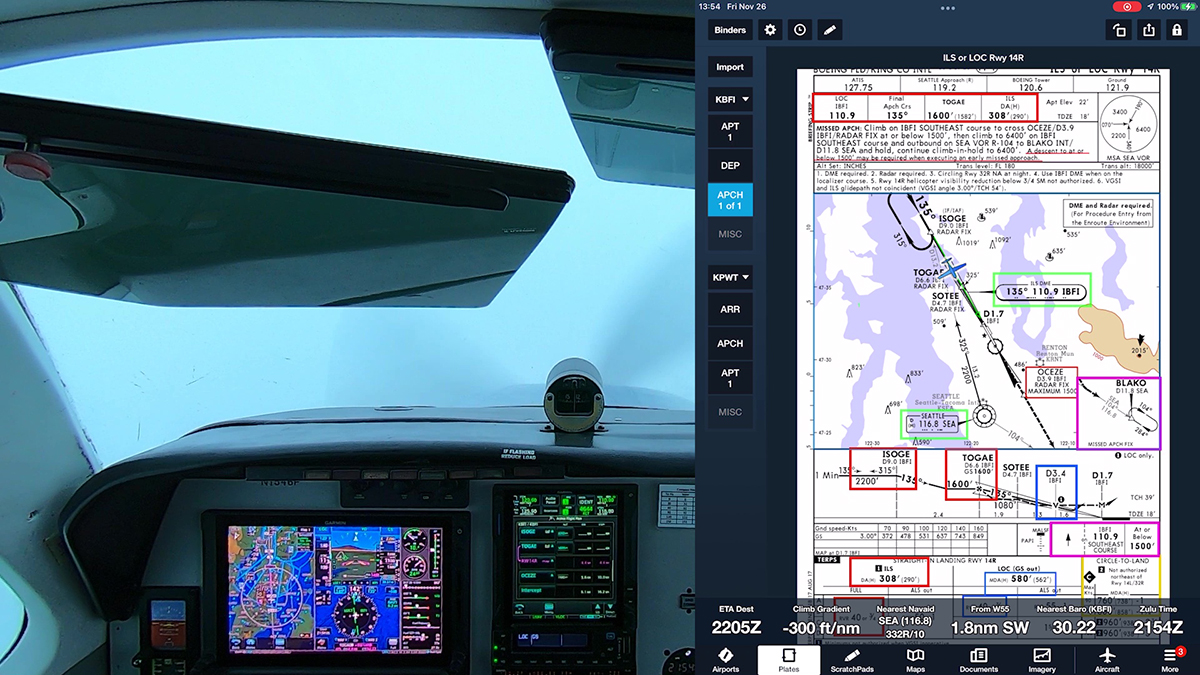
To see another example of flying an approach without activating the procedures, visit Flying Instrument Approaches without Activating the Approach.
To learn about another technique that makes joining a long final easier, see Setting a Course v. Vectors to Final.
And finally, review Don’t Activate Approaches.
When you load an approach into your IFR GPS box and choose Vectors-to-Final, the computer typically erases all fixes except the FAF and the MAP, making the snazzy moving map far less useful as an aide to situational awareness. Vectors-to-Final also may lead to a frenzy of knob turning and button pushing if ATC unexpectedly clears you to an IAF or IF instead of setting you up on a heading to intercept the magic magenta extended centerline that Vectors-to-Final draws on your screen.

A better choice, regardless of the type of approach, is to load the procedure and choose an IAF or other fix based on your position relative to the airport, and then, when appropriate, activate a leg of the procedure or fly direct to a fix, as cleared by ATC.
Important: Do not choose to proceed direct to the FAF. Instead, choose an initial fix or activate the leg between an IF and the FAF. If you try to proceed direct to the FAF, the GPS navigator probably won’t be able to run a series of internal checks that are required to switch from TERM mode to the appropriate approach mode (e.g., LPV, LNAV, etc.)
Selecting an IAF or IF keeps all the fixes on your map and makes it easy to accept and fly a specific clearance.
An update to AIM 5−4−6. Approach Clearance published in 2013 supports choosing an IAF:
Selection of “Vectors-to-Final” or “Vectors” option for an instrument approach may prevent approach fixes located outside of the FAF from being loaded into an RNAV system. Therefore, the selection of these options is discouraged due to increased workload for pilots to reprogram the navigation system.
(More information here.)
Note that at no point during the approach is it necessary (or often even advisable) to active the approach.
To see how this method works, let’s explore a common scenario.


We’re on a flight from Hillsboro, OR (KHIO) to Bremerton, WA (KPWT), just west of Seattle. Here’s a typical flight plan (to see the route on an IFR chart at SkyVector.com, click the link):
Assume the weather favors landing on runway 19 at KPWT. You have two options for the approach, the ILS RWY 19 (PDF) or the RNAV (GPS) RWY 19 (PDF). The latter offers LPV minimums that can get you almost as low as the ILS, and we have a GNS530W on board, so let’s get our money’s worth out of the IFR GPS box by flying the RNAV approach.
No published transitions begin south of Bremerton, so as you approach Olympia (OLM), Seattle Approach begins issuing vectors to the approach you’ve requested.
Because you don’t know where you fit in the traffic picture, you can’t be sure where ATC plans to have you join a published leg of the procedure. Approach could take you north to join outside of GITRE, an IF. More often, you’ll get vectors to a modified downwind, followed by a base leg that joins the final a few miles northeast of WOMAX, the FAF. If you’re following traffic, you might fly north far enough to get a heading or a clearance to fly direct to one of those fixes.
Loading the approach
You are flying vectors, so confirm that your autopilot is in HDG mode (or hand-fly the airplane).
When you and Seattle Approach agree that you’re flying the RNAV 19 approach, load that procedure in the box:
1. On the GNS530W, press the PROC button.
2. When Select Approach appears, press ENT.

3. Scroll to RNAV 19 and press ENT.

4. The Trans menu appears; select LOFAL (an IAF) and press ENT.

5. The GNS530W shows the procedure on the map and asks you to LOAD or ACTIVATE the approach. Choose LOAD and press ENT.

Nothing happens at this point, which is good. You’re still flying vectors assigned by ATC. The autopilot is tracking the HDG bug, and the approach is appended to your active flight plan. Continue flying the heading(s) and altitudes that ATC assigns. Don’t fret about the fact that you’re not going to LOFAL.

You can use this lull in the action to brief the approach, verify that the picture on the moving map matches the plan view of the plate, and complete your approach checklist.
As you fly north, ATC may vector you to GITRE (an IF), or, more likely to join the approach a few miles outside of WUMOX, the FAF.
To anticipate the latter scenario, use the Flight Plan page and activate a leg of the procedure.
Activating a leg
1. On the GNS530W, press the FPL button.
2. The Flight Plan page appears. The approach you loaded is at the bottom of the current flight plan. Scroll to WUMOX.


3. Press MENU.
4. The Page Menu appears; Activate Leg is highlighted. Press ENT and then confirm the action.

5. The line between GITRE and WUMOX turns from white to magenta.
Again, nothing happens. The autopilot is still in HDG mode (or you’re hand-flying the ATC vectors). But you’ve told the GNS530W that you’re now flying an approach, and on the map, you can see your position relative to the full procedure, not just the FAF.

Continue flying assigned vectors as ATC turns you west and then southwest toward the “gate” a few miles outside the FAF.
What’s with SUSP?
Notice that the SUSP annunciation has appeared above the OBS button on the GNS530W. Resist the urge to make it go away. Don’t push the OBS button! Carry on and all will be well. When you are established on an intercept to the FAF or on a leg between an IF and the FAF, the GNS530W will automatically cancel SUSP mode.

This behavior is a feature of WAAS-approved IFR navigators. It’s part of TSO-C146a, the specification that governs the hardware and software for WAAS navigators, and its various appendices and addenda.
To learn more about this feature, see p. 5 in What is New with the 400W – 500W Series, a PDF document available at the Garmin website.
Joining final
Eventually, ATC will put you on a heading that intercepts the leg between GITRE and WUMOX, and you’ll receive a clearance such as:
“Bonanza 1234A, three miles from WUMOX, fly heading 250, maintain 2,500 until WUMOX, cleared RNAV 19 approach.”
Set the heading bug to 250, and fly toward the magenta line at 2,500.

If you have a typical autopilot, you can then arm the NAV or APCH mode on the autopilot, and it will intercept the magenta line outside the FAF.
Flying the approach
As the airplane tracks inbound toward the FAF, confirm that LPV miminums are available.

Note that as you pass the FAF, the GNS530W automatically sequences to the MAP. In other words, the approach has become active, but you never “activated” the approach. Manually activating an approach isn’t necessary; the procedure became the active flight plan when you activated the leg between GITRE and WUMOX.

Handling curveballs
Suppose that for some reason—perhaps your spacing behind traffic isn’t working out—ATC throws you a curve after you’ve activated the leg between GITRE and WUMOX, and approach sends you farther north toward GITRE—or even LOFAL.
No problem. Because you never activated Vectors-to-Final, there’s no need to cancel the current approach and go through the rigmarole of re-loading a procedure. Just return to the Flight Plan page and select another leg to activate, or choose direct-to any IF or IAF that’s part of the approach.
Important: Do not choose to proceed direct to the FAF. Instead, choose an initial fix or activate the leg between an IF and the FAF. If you try to proceed direct to the FAF, the GPS navigator probably won’t be able to run a series of internal checks that are required to switch from TERM mode to the appropriate approach mode (e.g., LPV, LNAV, etc.)
Here are the steps:
1. On the GNS530W, press the FPL button.
2. The Flight Plan pageappears. Scroll through the waypoints on the current approach at the bottom of the current flight plan and highlight the fix to which you’ve been cleared—or choose a fix that defines the end of the leg you now expect to join.
3. To proceed direct to a fix (say, GITRE), highlight the fix and press the Direct-To button.

4. When prompted to activate that waypoint, press ENT.
In this example, GITRE becomes the active waypoint, and you can fly directly to it. The GNS530W will sequence to the next waypoint on the approach and guide you (or the autopilot) all the way to MAP. Again, there’s no need to manually activate the approach.
More information and practice
To learn more about the features described here, see the handbook for your GPS navigator. Garmin posts free PDF versions of its manuals on its website. Here are the links for the GNS430W and GNS530W.
You can practice the procedures described here in the free PC-based GNS trainers that are also available for download at the Garmin website.
Even if you don’t have a G500/G600 display in your airplane, it’s often best to use the PC-based trainer for with an electronic PFD/MFD, because you can see the aircraft’s flight and navigation instruments. The free Garmin PC Trainer Suite for GTN, G500/G600 TXi, GDU 620, GNX 375, GNC 355/355A, and GPS 175 is an excellent training aid.
If you have an iPad, try the Garmin GTN™ Trainer Aviation App, the TXi Trainer Aviation App, and the GPS Trainer Aviation App for the GPS 175, GNC 355 and GNX™ 375 navigators.
You can also find excellent advice–including more details about this way of flying RNAV (GPS) approaches–from Max Trescott, the national CFI of the year in 2008 and author of several books about using GPS and advanced avionics systems.


 Sporty’s